How to Refinish a Wood Deck
Craig built our mahogany deck three years ago. We didn’t put any sort of stain or seal on it because I wanted it to weather to a silvery grey. What I didn’t think about was the fact that our deck gets full sun ALL day, and that we live in New England. The weather and the sun took a big toll on our deck and it was starting to splinter and stain. We needed to do something before it was too late, so this spring we decided to refinish it. We wanted a product that’s non-toxic and eco-friendly, and controls moisture absorption by reducing mold and mildew. I found Vermont Natural Coatings Exterior Penetrating Water Proofer. It dries clear and leaves no topcoat, allowing the wood’s color to age naturally, meaning it will continue to fade and grey over time (they offer color stains if you want to prevent this).
I called a rep at Green Building Supply (they are really helpful by the way, I’ve always had a good experience ordering from them) and she mentioned the product isn’t typically recommended for mahogany because it’s a hardwood. I was willing to try it anyway because our deck was so dry I had a feeling it would be fine. A few things I like about the product: it was very easy to use, it’s ZERO VOC with very little smell, it’s biodegradable and made from renewable resources, and it dries in less than an hour and cures in 48 hours.
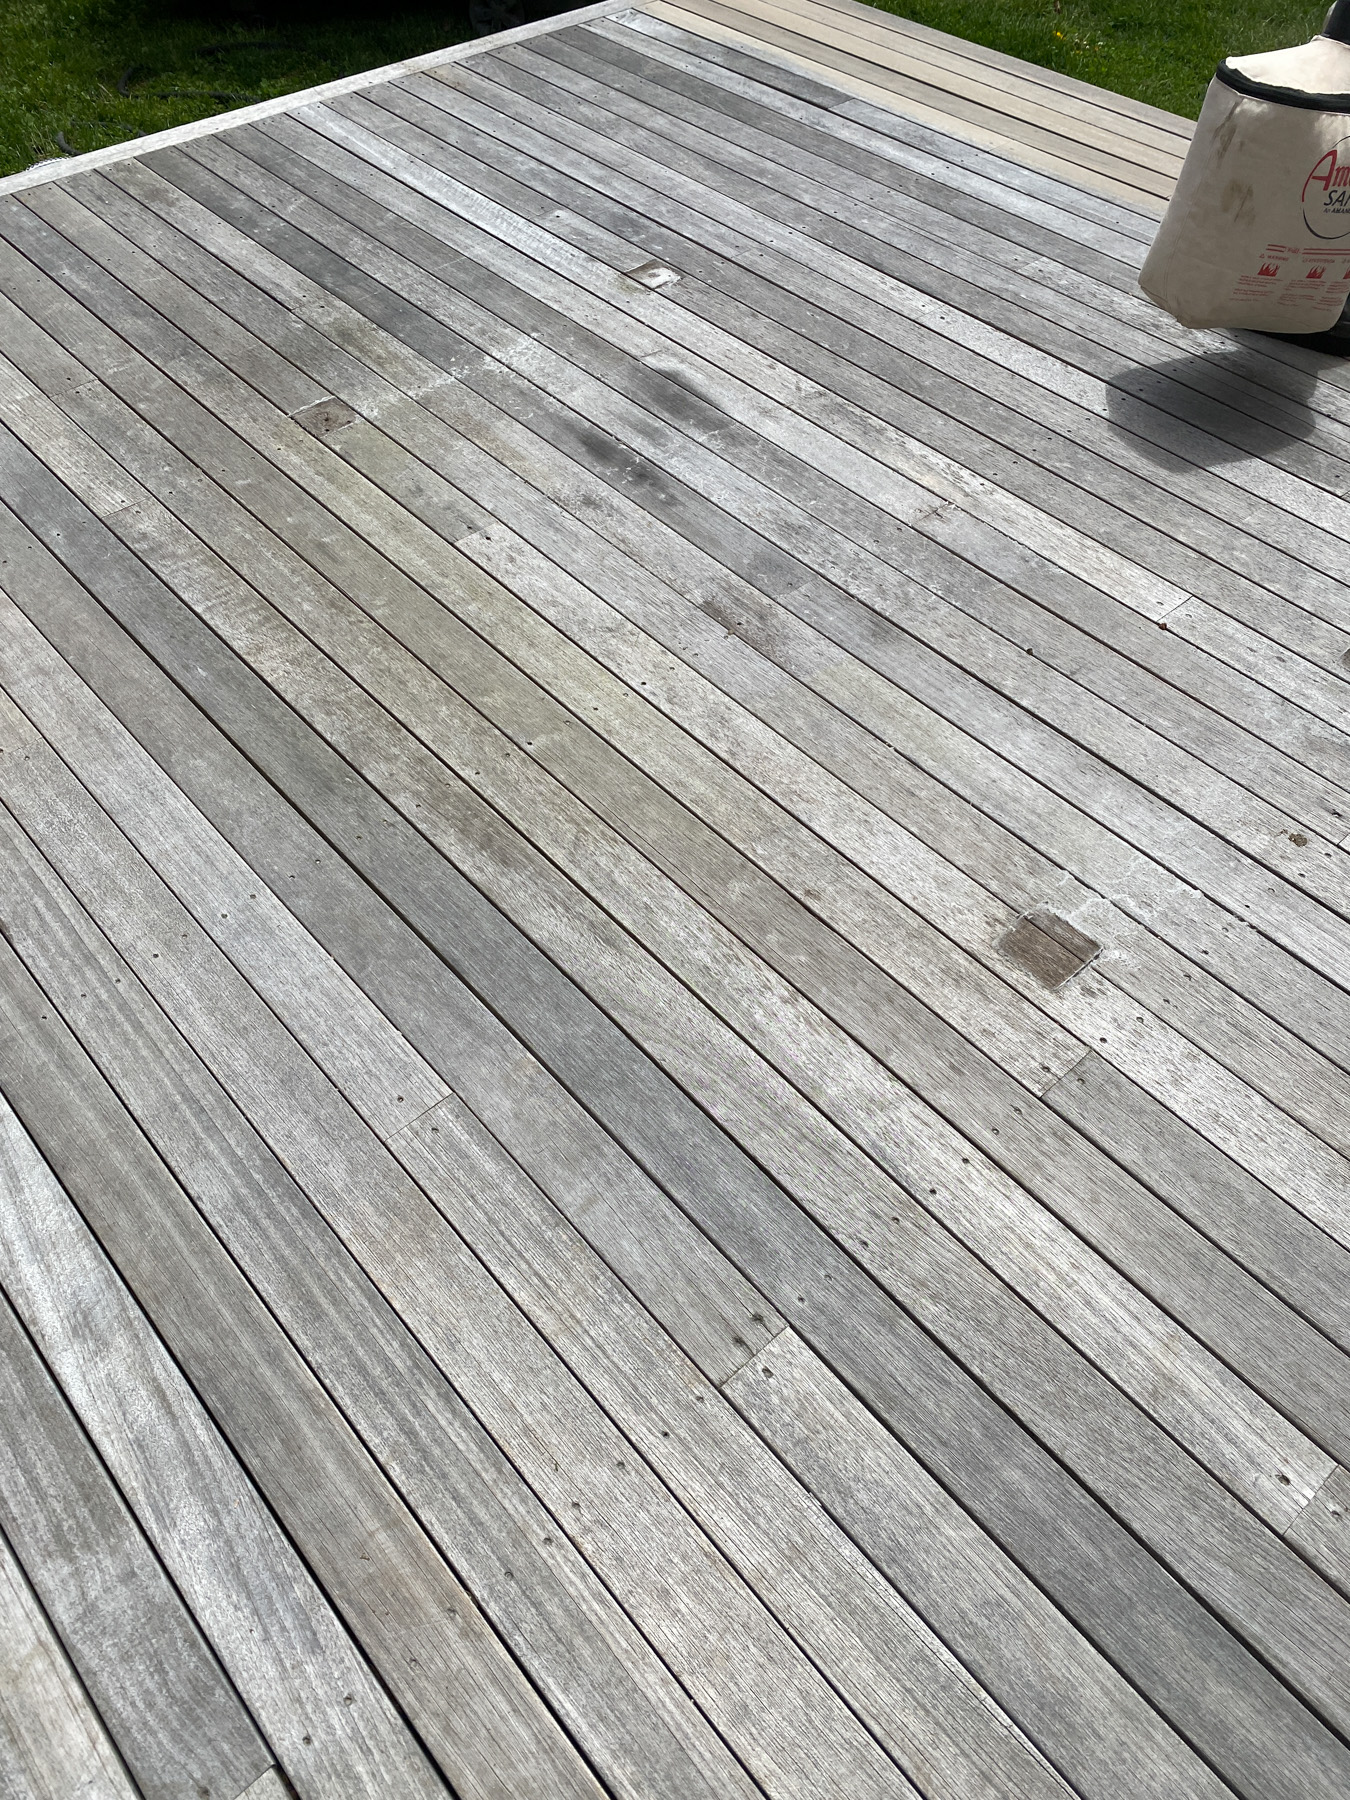
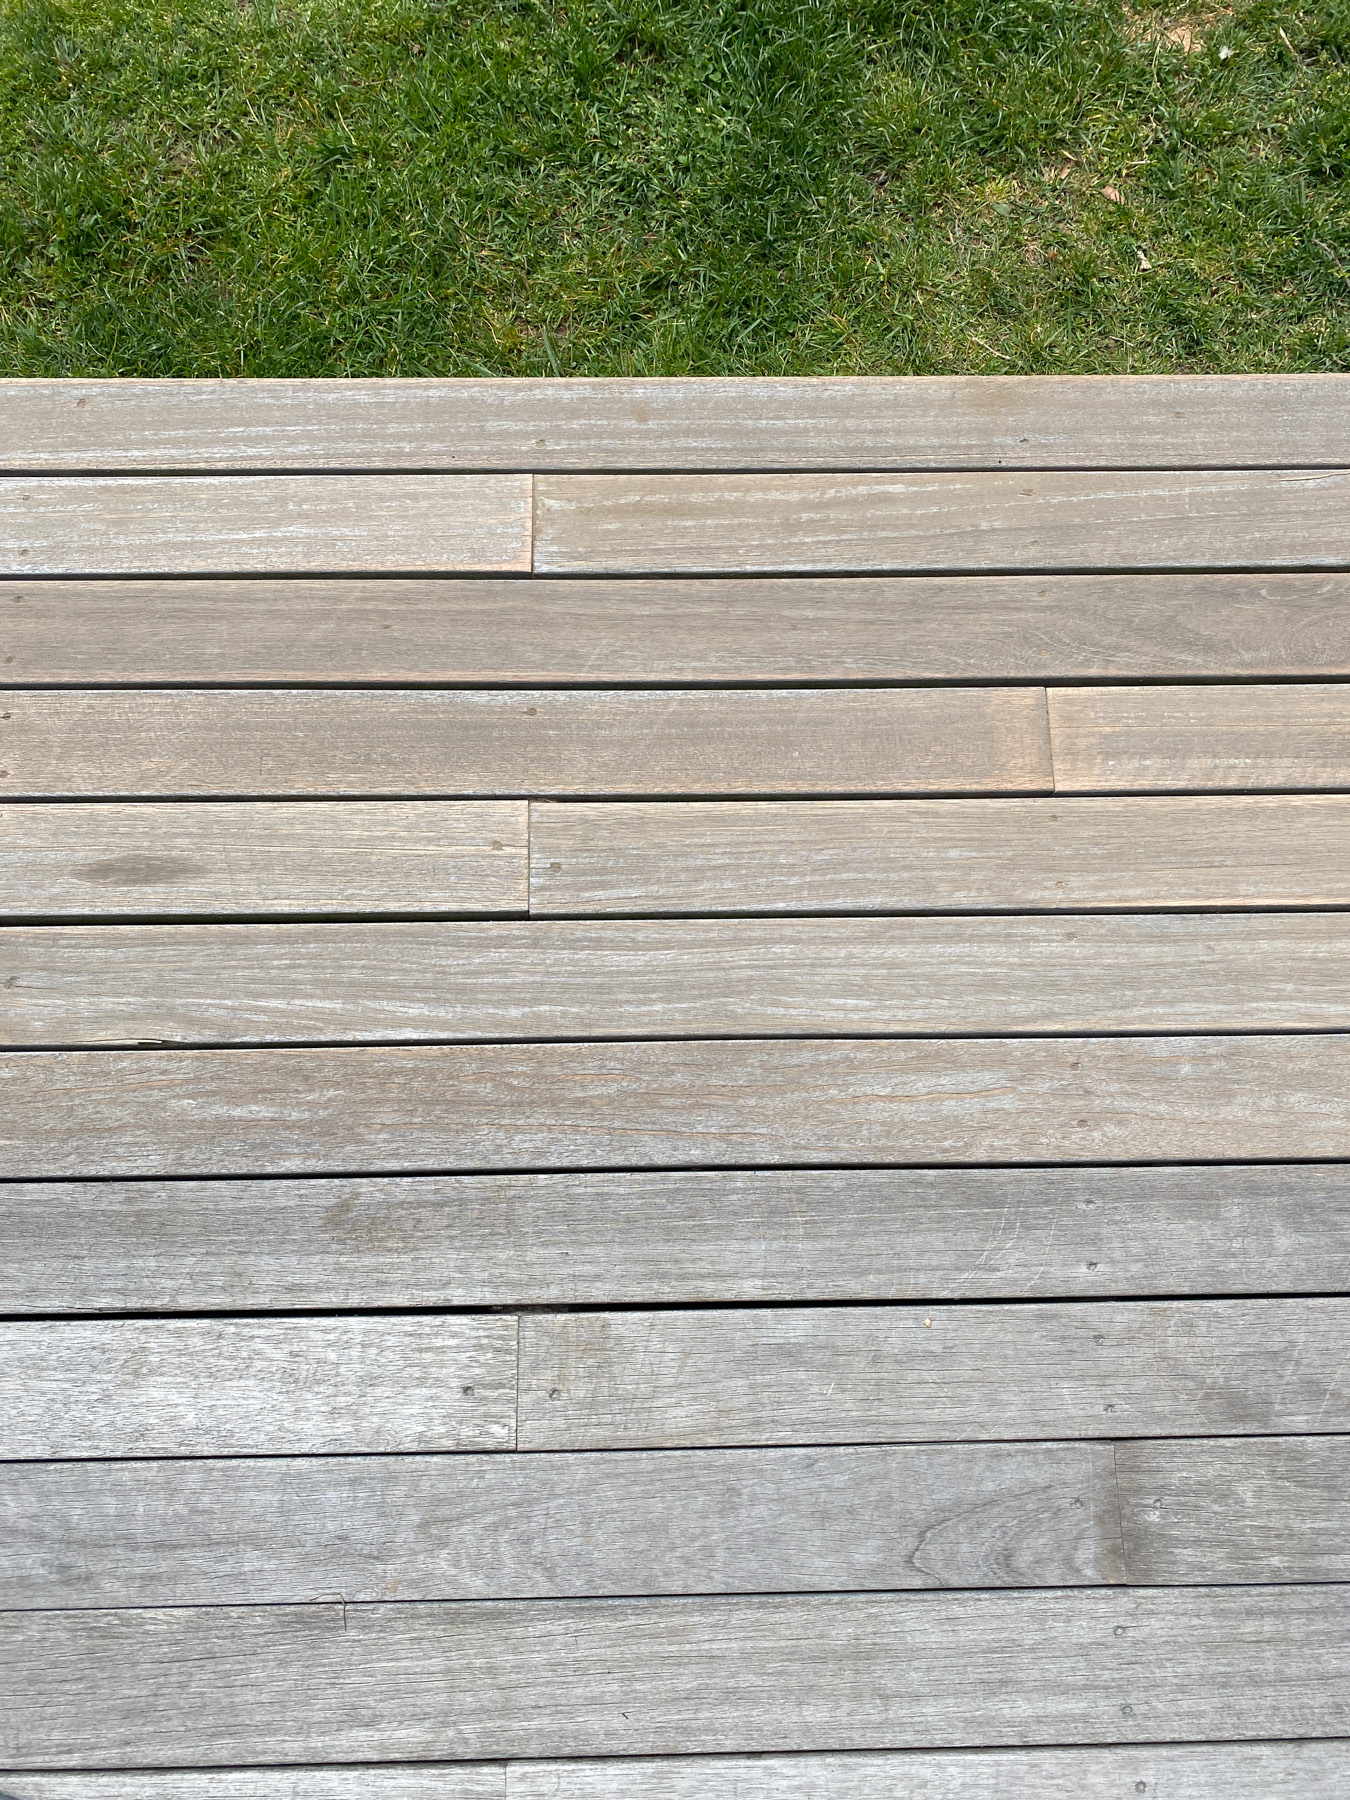
You can see below what the deck looked like before we did the refinishing work. Read on for what tools and supplies you need and the steps for how to refinish a wood deck.
BEFORE

What You Need:
Floor Sander (we rented this from Home Depot)
80 grit sandpaper
Orbital Sander for corners/edges you can’t reach with floor sander
Paint trays
Deck Stain Applicator Pad and Extension Pole
Leaf Blower
Dust Mop
Shop Vac
How to Refinish a Wood Deck
The first thing I want to mention is the weather. You need 48 hours for the product to cure after you’ve applied it. You also need time to sand the deck and clean it beforehand, so a solid 3 days of good weather is helpful. Spring in New England definitely made this tricky, but we managed to get a window pretty close to that.
Step One. remove furniture and debris
Remove all furniture and debris from the deck. We did a quick sweep with a broom to get rid of any little rocks, leaves, etc. You just want to make sure it’s as clear as possible prior to sanding. We did not power wash and I’ve read a lot of conflicting advice on this. But ultimately we did not feel it was necessary.
step two. sanding
We rented a deck and floor sander from Home Depot which made the process much faster than doing it all with a palm sander. Craig did one full length across the entire deck (only going over each spot one time) using 80 grit sandpaper. To get into corners and tight spots that the floor sander couldn’t reach he used his orbital sander. You don’t necessarily have to do this step but if you have certain hard to reach nooks and crannies it’s helpful.
step three. get rid of dust
This is probably the most important step because after you’ve sanded you want the deck to be as clean as possible. Do not get it wet. We followed several steps. First, we used a shop vac to get up any noticeable piles of sawdust from sanding. If you don’t have a shop vac you could skip this step. Next we used a leaf blower to remove any loose dust, blowing it in one direction off the deck and away from the house. Then we went across the deck with a dust mop to pick up any fine dust.
Step four. apply the sealer
We worked in approximately 3 ft sections on opposite sides of the deck. With the sealer in paint trays, we dipped the applicator pads until they were soaked with the product and applied in a brushing motion, doing three boards at a time moving towards the middle of the deck. We were working on a fairly warm and dry day which made the product dry quickly. The tricky thing about this product is you have to apply the second coat while the first coat is still wet. It really helps to do this process with two people.
If you’re doing it alone, work in small sections. We would do a three board section meeting in the middle of the deck and then go right back and do that section again while it was wet. It worked out really well doing that process. We started closest to the house and worked our way out towards the yard.
As you can see from the photos it turned out really well and the product is very impressive. It’s pretty nice to watch water bead up on the deck now when it rains. We ended up using the product on our outdoor dining table too and it looks great.
Disclosure: if you buy something through the links on this blog, we may earn an affiliate commission. We only feature products we would personally recommend. Thank you for your support.