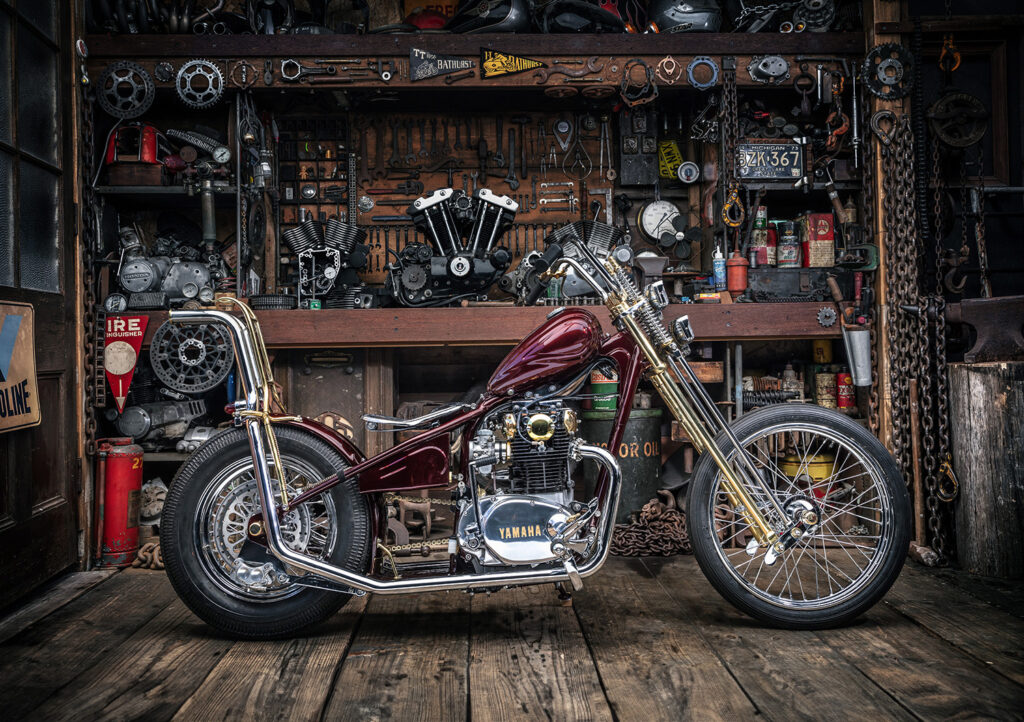
GROUND UP: Yamaha XS650 by Butler’s Customs.
From the streets of Sturgis to AMD's World Championship stage and the pages of Easy Rider magazine,...
Chopper

Top Ten Engines For A Custom Motorcycle.
For more than a decade we've ended the year with our Pipeburn Top Ten Bikes and picking the list is...
Review
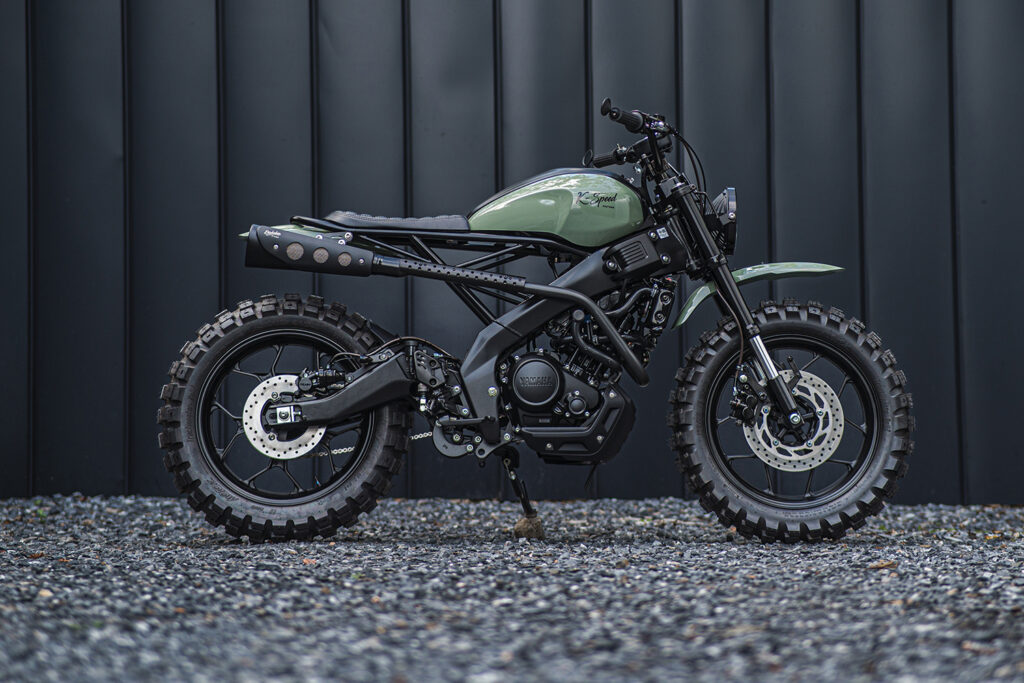
SERGEANT SCRAMBLER: Yamaha XSR155 by K-Speed.
Over the years, we've been rightly blown away by the first-time custom builders who have knocked it...
Scrambler / Tracker
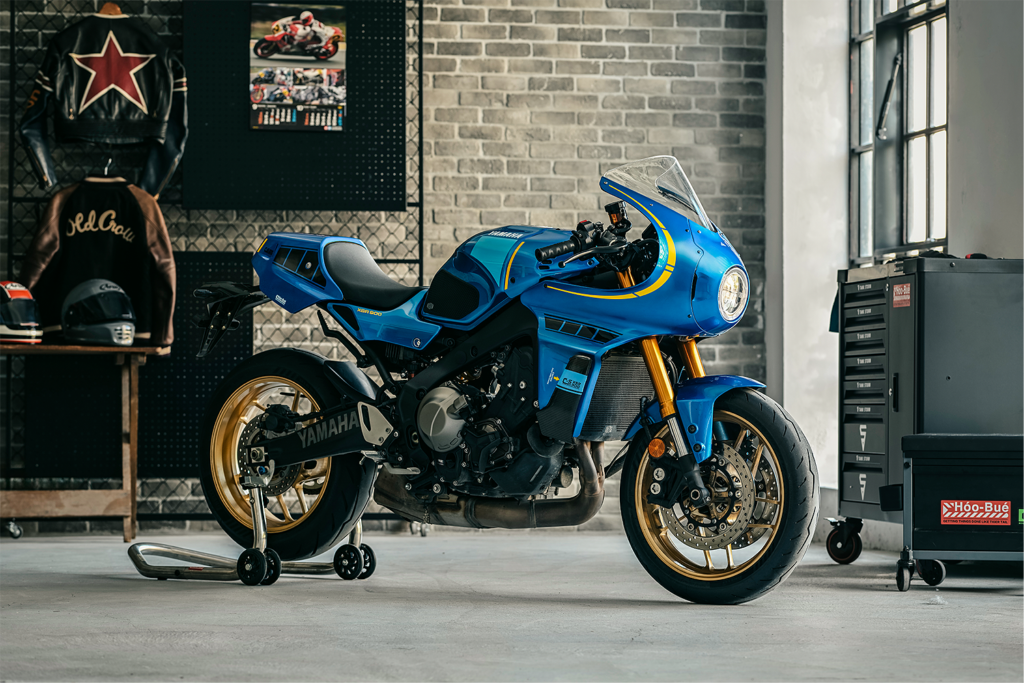
KITTED-OUT: Yamaha XSR900 by Hoo Bue.
It's been suggested that when Yamaha first launched an MT-coded motorcycle back in 2005, they could...
Uncategorized
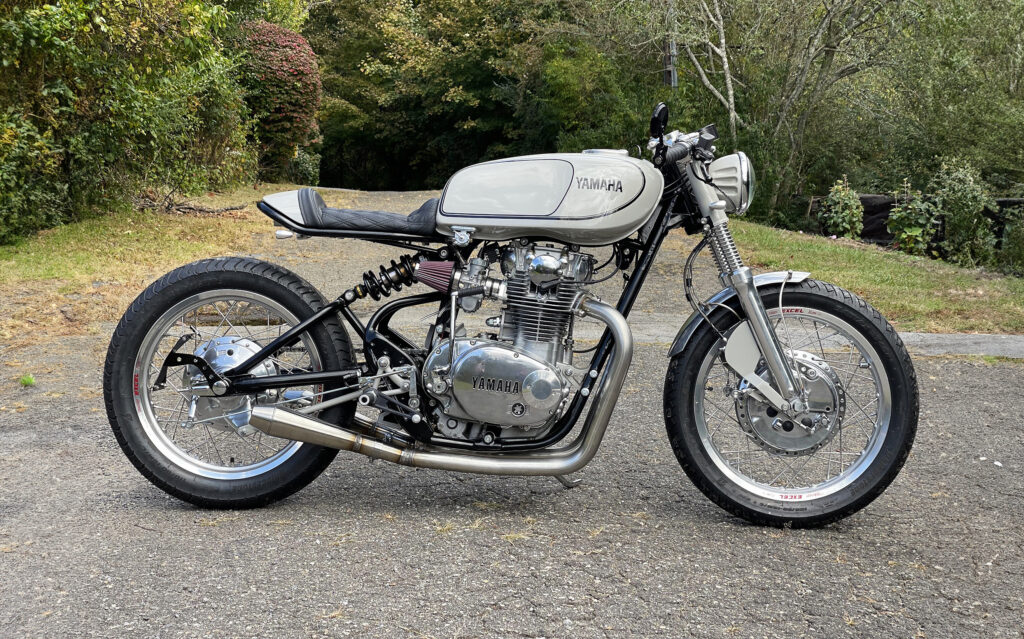
COSMIC: Yamaha XS650 from MacVittie Motorcycles.
It is a strange old world we live in, the demise of the British motorcycle industry in the '70s was...
Café Racer
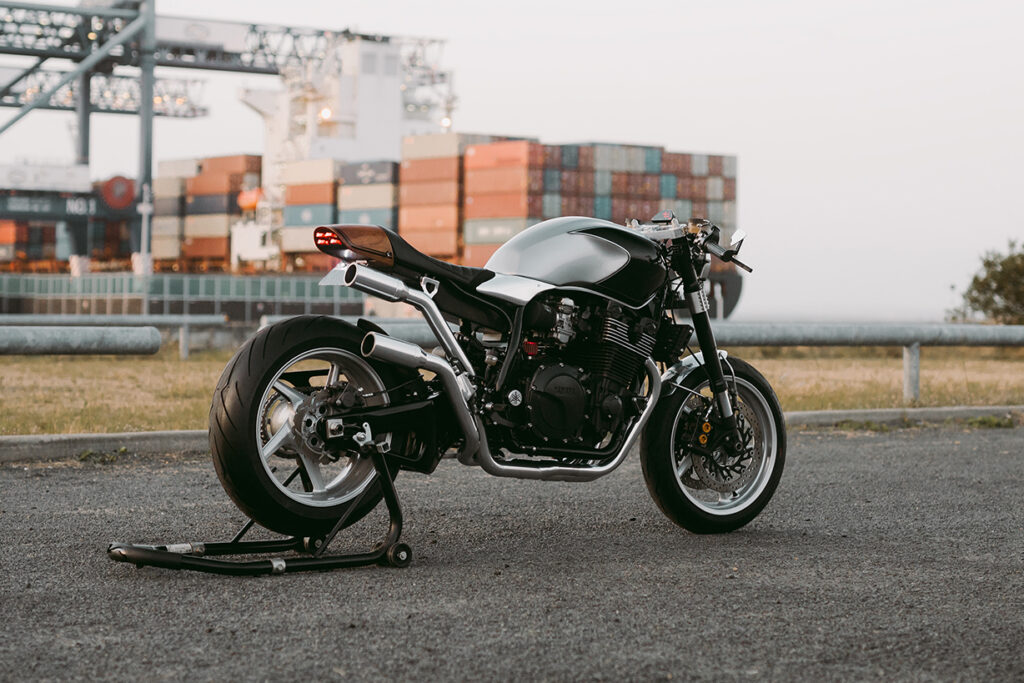
AGAINST THE GRAIN: Yamaha XJR1300 by Pritchett & Sons.
There is very little the Japanese do badly when it comes to, well, just about anything, but...
Café Racer
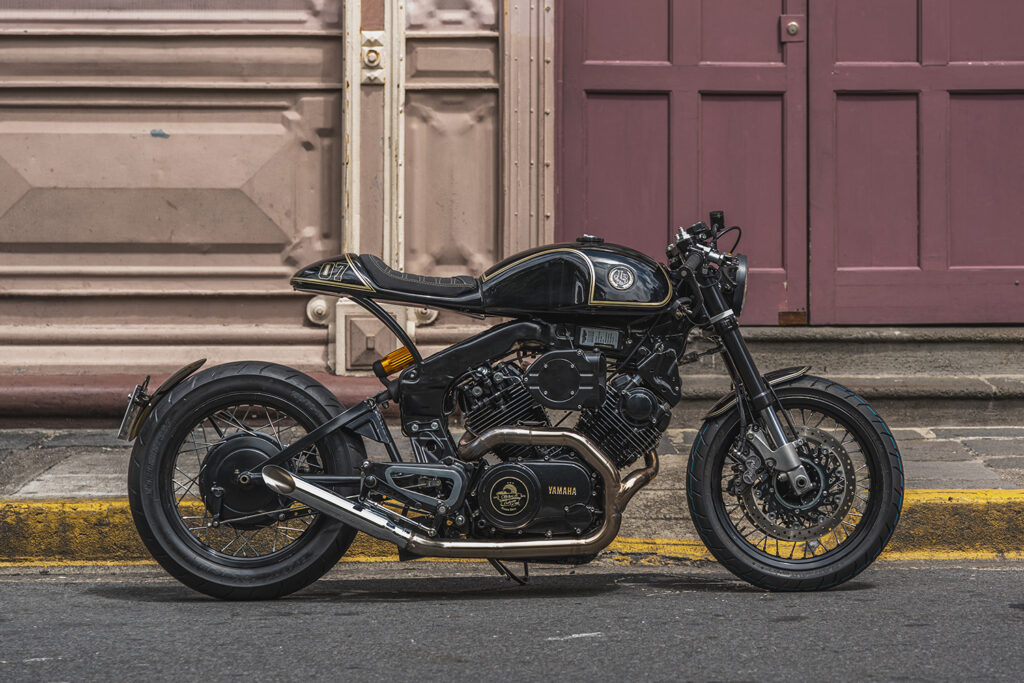
COSTA RICAN CAFE: Yamaha XV750 by MotorAll Customs.
Cigarettes Will Kill You is both the name of a great '90s song and an indisputable fact, but boy...
Café Racer
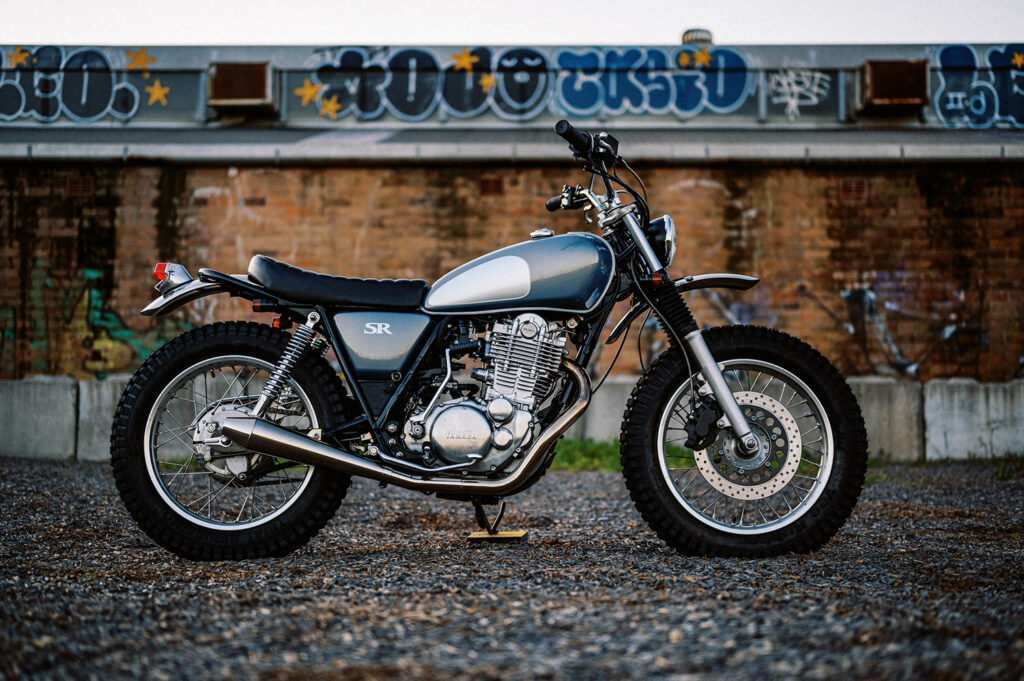
VINTAGE VIBES: Yamaha SR400 by Sabotage Motorcycles.
There is a video on YouTube where the star is an absolutely bone-stock Yamaha SR, and yet it has...
Scrambler / Tracker
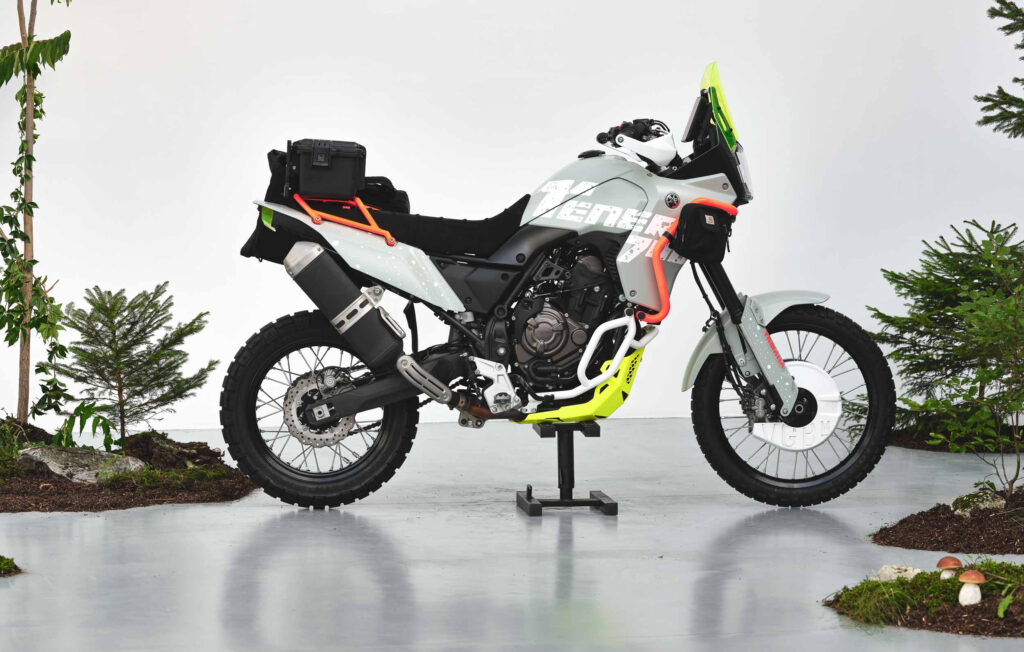
FUNCTIONAL & FLURO: Yamaha Ténéré by Vagabund Moto.
One sector of the new motorcycle market is absolutely booming and every manufacturer is doing their...
Adventure
CYBERPUNK: Yamaha SRX600 ‘Evil Rabbit’.
The Commodore 64, Sony Walkman, the GameBoy and even wristwatches with built-in calculators, the...
Racer